

How to organize 3D printer files: models, G-code, photos and notes
Every print leaves a trail of files behind it. Keep the model, the slicer project, the G-code, a photo and a short note in one place, and the next print is easy.
By CraftKeep Team · · 5 min read
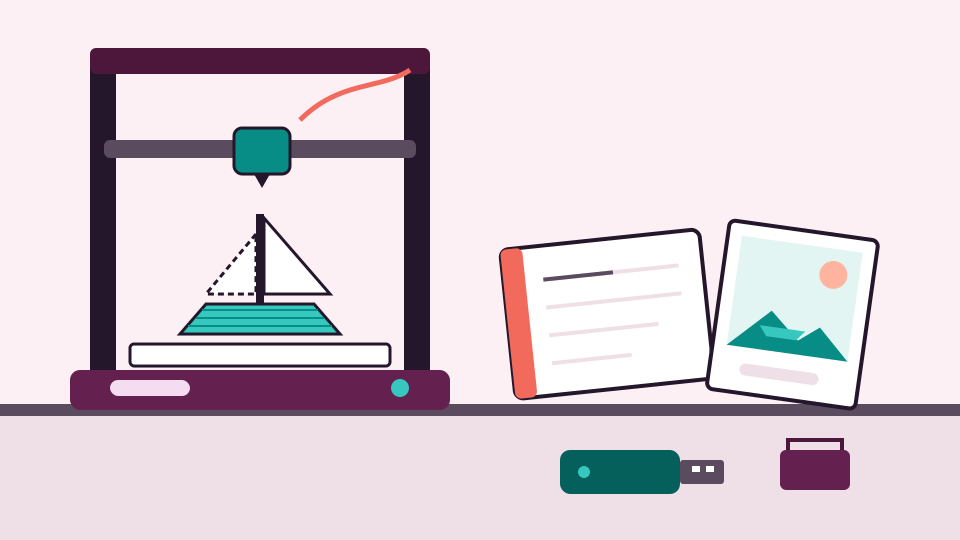
To organize 3D printer files, give every model one project and keep all of its files inside: the STL or 3MF model, your slicer project, any G-code you printed, a photo of the result and a short note. File the projects under the maker they came from, and keep a backup somewhere other than the printer's computer. Then any print you have made before is easy to make again.
A single print can leave five or six files behind. The model from the designer. A copy you scaled. The slicer project with your supports. The G-code you sent to the printer. A photo. If each lands in a different folder, the next print starts from scratch.
The files a 3D print leaves behind
Here is what you are likely to have for one model, in plain words:
| File | What it is | Where it comes from |
|---|---|---|
| STL | The shape of the model, made of tiny triangles | The designer |
| 3MF | The shape plus extras such as colors, several parts on one plate and slicer choices | The designer, or your slicer |
| OBJ | Another model format, sometimes with color or texture | The designer |
| Slicer project | Your plate, supports and settings, saved by your slicer | You |
| G-code | The finished print job: step-by-step moves for one printer | Your slicer |
| Photos | Pictures of the finished print | You |
| Notes and PDFs | Assembly steps, licenses and what worked | The designer, and you |
A slicer is the program that turns a model into instructions for your printer. Many slicers save their projects as 3MF files, so you may have two kinds of 3MF: the designer's and your own.
How to organize 3D printer files, step by step
- Make one project per model. Name it after the thing, such as "Cable clips, desk edge".
- Put the designer's files in first. Keep the STL, 3MF or OBJ exactly as they came.
- Save your slicer project beside them. Give it a name that says what is special, such as
Cable clips - PETG, fine layers.3mf. - Add the G-code only when it is worth keeping. See the next section.
- Add a photo of the finished print. It is the quickest way to recognize the model later.
- Write a one-line note. Material, layer height, supports, and anything you would change.
- File the project under the maker. Your own designs go under your own name.
That is the whole system. It works the same for organizing 3D models from any site or shop.
Here is how one project might look when it is done. "Cable clips, desk edge" holds the designer's cable-clip.stl and a PDF of their tips. Beside them sit your Cable clips - PETG, fine layers.3mf, a photo of six clips on the desk, and a note saying the second size fitted a thicker desk. Anyone could print it again from that folder.
Should I keep G-code?
Keep G-code for prints you repeat on the same printer. G-code is made for one printer, one material and one set of choices. It is handy for spare parts you print again and again, because you can skip slicing.
For everything else, the model and the slicer project are what matter. You can always slice again, but you cannot easily turn G-code back into a model. Never keep G-code as the only copy.
Photos and notes are part of the file
A photo tells you in a second which of three similar brackets you mean. A note tells you that the first try warped and the second one, with a brim, worked. Together they turn a folder of files into a record of what you have learned.
Keep notes short and the same shape each time, so they are easy to scan:
- Material and color
- Layer height and infill
- Supports, brim or raft
- What you would change next time
3D printing file backup
Many people keep their models on the computer beside the printer, or on the USB stick or card that goes into it. Both are easy to lose, damage or overwrite.
A good backup plan is simple:
- Keep one main library where every model is filed.
- Keep a second copy somewhere else, such as an online library or a drive stored away from the printer.
- Treat the printer's stick or card as a working copy. Copy files onto it when you need them, and wipe it without worry.
Paid models and your own designs deserve the most care, since they are the hardest to replace.
Organizing 3D printing files in CraftKeep

CraftKeep is a 3D printing file manager that keeps your models in one online library. It works in your web browser on a computer, tablet or phone. Here is what it does with each kind of file:
- STL and 3MF files show as a picture, so a grid of projects is easy to scan.
- STL, 3MF, OBJ and AMF files open in a 3D view. Drag to turn the model, scroll or pinch to zoom, and choose Reset view to start again. Its size shows in inches. OBJ and AMF files don't get a still picture, so they show a file icon in the grid.
- G-code is stored safely with its project and labeled "3D model". CraftKeep doesn't draw a picture or 3D view for it.
- Photos show as pictures, and the first page of a PDF gets one too. The words inside PDFs are searchable.
- Notes and tags. Each project has Notes for your print settings and up to 5 tags.
- Backup. Your library is kept online, with an independent backup copy kept in a second US region. The security page explains more.
CraftKeep works as a 3D model file organizer beside your slicer. It doesn't connect to printers or slicers. To print, open a file and choose Download. Or choose Send to USB to copy it onto the stick for your printer. See downloading and sending to USB for which browsers can do that.
Where to go next
Pick the model you print most often and give it a project with all of its files, a photo and a note. Then do the next one when you print it.
For the basics of naming STL files, read how to organize STL files. If your collection is already huge, see how to manage a large STL file collection. You can also visit the 3D print file organizer page and read about previewing your designs.
Try it with your own files
Make a free CraftKeep library and see your 3d printing files as pictures you can search.
No credit card needed
Topics:OrganizingBackup and storage