

A beginner's guide to machine embroidery files
New to machine embroidery? Here is what is inside a design download, which file your machine needs, how to get it there and how to keep your designs tidy from day one.
By CraftKeep Team · · 6 min read
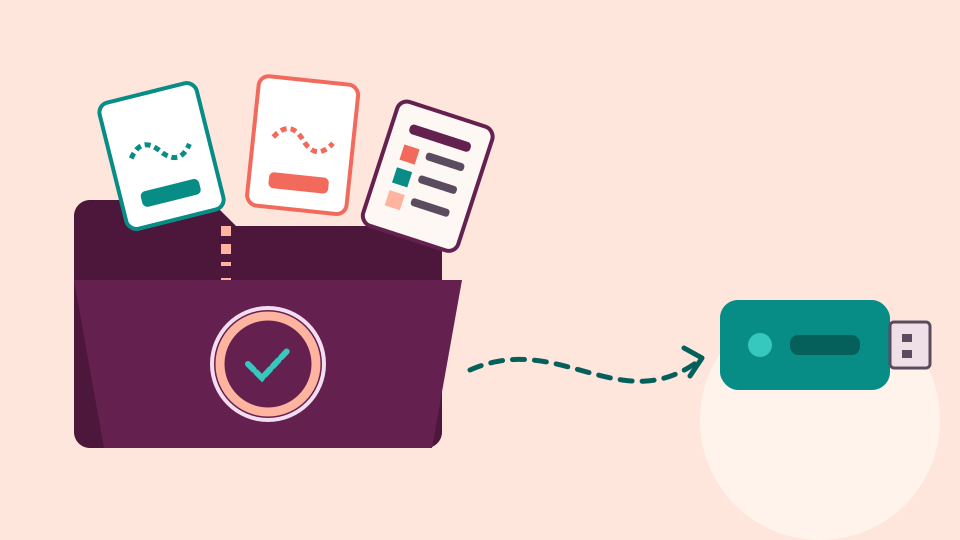
This beginner's guide to machine embroidery files covers the basics in plain words. A machine embroidery design is a file of stitch instructions, saved in a format your machine reads, sized for a hoop. It usually arrives in a ZIP with other formats, other sizes and a PDF color sheet. Pick the right file, copy it to your machine, and keep the rest organized so you can find it again.
If you've just bought your first embroidery machine, your first design download can be a surprise. You expected one file. You got a folder of twenty, with odd endings like .pes, .dst and .jef. Don't worry. Once you know what each piece is for, it all makes sense.
What is a machine embroidery file?
A machine embroidery file is a set of instructions for the needle. It says where to make each stitch, when to jump to a new spot, when to trim the thread and when to change color. Someone made those instructions by hand in special software. That work is called digitizing, and it's why a good design stitches out cleanly.
Because the file holds instructions, not a picture, it won't open like a photo. Double-click it and your computer may not know what to do. To see it, you need a viewer that reads the stitches. The free embroidery file preview draws a design in your browser without uploading it, and How to preview PES files without embroidery software shows how.
A picture file, such as a JPG or PNG, is not a stitch file. Your machine can't sew a photo. If a design comes with a picture, that's just there to show you what it looks like.
Which format does your machine need?
Each machine maker uses its own way of writing these instructions down, called a format. The format is the ending of the file name. The mySewnet software help lists, for example, PES for Brother, JEF for Janome and DST for Tajima.
Designers can't know which machine you have, so they save each design in many formats and put them all in the download. You only need the one your machine reads. To find it:
- Look in your machine's manual for the list of formats it reads.
- In the design download, find the files that end in that format.
- Leave the others for now. They're copies of the same design for other machines.
Embroidery file formats explained goes through each common format and what it stores, and the formats page lists them all.
What about hoop sizes?
A hoop holds your fabric tight while the machine stitches. Each hoop has a sewing field, the area the needle can reach. A design has to fit inside it, with a little room to spare.
Many designs come in several sizes, often in folders named after the hoop, such as 4x4, 5x7 and 6x10. Pick the folder for a hoop you own. Then check the design's measured size, because a hoop's name is a rounded number. The free hoop fit checker tells you which of your machine's hoops a design fits. How to find embroidery designs that fit your hoop explains the details.
What's inside the ZIP?
Most designs download as a ZIP, a single file that holds many files packed together. On most computers, you double-click a ZIP to open it, or right-click it and choose to extract it. Inside you'll usually find:
- the design in several formats, sometimes in several hoop sizes
- a PDF, a document with the color sheet: the order of colors and often the thread numbers to use
- instructions, for in-the-hoop projects that need steps such as placing fabric or cutting appliqué
- a picture of the finished design
Keep all of it together. The PDF color sheet matters more than it seems. It tells you which thread to load for each color stop. If the sheet names a thread brand you don't own, the free thread color converter finds a match in yours, and How to convert embroidery thread colors between brands walks through it.
Getting a design to your machine

Many home machines read designs from a USB stick. Your manual says which ways yours accepts designs and where it looks for them on the drive. The usual steps are:
- Plug a USB stick into your computer.
- Copy the design file, in your machine's format, onto the stick. The top of the drive is a safe place.
- Eject the stick safely, then plug it into your machine and choose the design.
A design still inside its ZIP won't show on your machine. Unzip it first. How to get embroidery designs onto a USB stick covers formatting the drive and what to do when your machine can't see a design.
In CraftKeep, Send to USB copies designs straight onto the drive in Chrome or Microsoft Edge on a computer. In other browsers it saves to your Downloads folder instead. CraftKeep doesn't connect to your machine; the USB stick carries the design across.
Keep your embroidery files organized from day one


Collections grow fast. A few free designs, a bundle from a sale, a set for a gift, and soon you have hundreds of files with names like 12345_A.pes. It's much easier to organize embroidery files from the start than to sort them out later. A few habits help:
- Keep each design set together, as it came: every format, every size and the PDF.
- File by designer, then by project. Name the project the way you'd describe it, such as "Winter Woodland Animals".
- Leave the file names alone. The designer's instructions refer to them.
- Add a short note: where you bought it and the thread you used.
A machine embroidery file organizer such as CraftKeep does much of this for you. Choose Add files and pick your ZIPs. CraftKeep asks which designer and project they belong to, unpacks each ZIP and keeps the designer's folders. Every embroidery design gets a stitch picture, so you see designs rather than file names. Search covers names, tags and notes, and the words inside PDF instructions too. Add your machine on Your machines, and each project opens on the format your machine reads first.
How to organize embroidery files gives you a full system, and Getting started shows your first steps in CraftKeep.
Beginner's guide to machine embroidery files: common mistakes
- Loading the wrong format. If your machine shows nothing, check the file ending matches a format it reads.
- Picking the wrong size. Use the folder for your hoop, then check the measured size.
- Copying the ZIP instead of the design. Unzip first and copy the design file itself.
- Throwing away the PDF. You'll want the color sheet the next time you stitch.
- Keeping only one copy. Store your designs somewhere safe, not just on the USB stick.
Where to go next
- See a design before you stitch it with the free embroidery file preview.
- Check your hoops with the hoop fit checker.
- See how a growing collection stays tidy in the embroidery file organizer, and compare plans on the pricing page.
Brother, Janome, Tajima and mySewnet are trademarks of their respective owners. Chrome is a trademark of Google LLC. Microsoft Edge is a trademark of Microsoft Corporation. CraftKeep is not affiliated with these companies.
Sources
- Embroidery File Formats, mySewnet Software Help
- OESD Embroidery Design Formats, OESD
Try it with your own files
Make a free CraftKeep library and see your machine embroidery files as pictures you can search.
No credit card needed